Creating Kits
Last updated: September 2, 2026
Cofactr's Kit feature adds another layer of customization to how you organize and manage parts. You can create kit requests from a Program, manually add lines to a kit, or kit from a BOM, which will then create the fulfillment request to our warehouse. Our warehouse will then fulfill your kit request. Kits are used for parts being sent from Cofactr to you, your assembly house, or wherever you need your parts to go. Multiple tracking numbers can be associated with each kit, and you'll see tracking details in the kit shipment details. Multiple kits can share the same tracking number if they're shipped in the same box. Kits provide greater flexibility and control, making it easier to organize parts in a way that suits your workflow while maintaining efficient order management from creation to delivery.
Creating a Kit from a Program
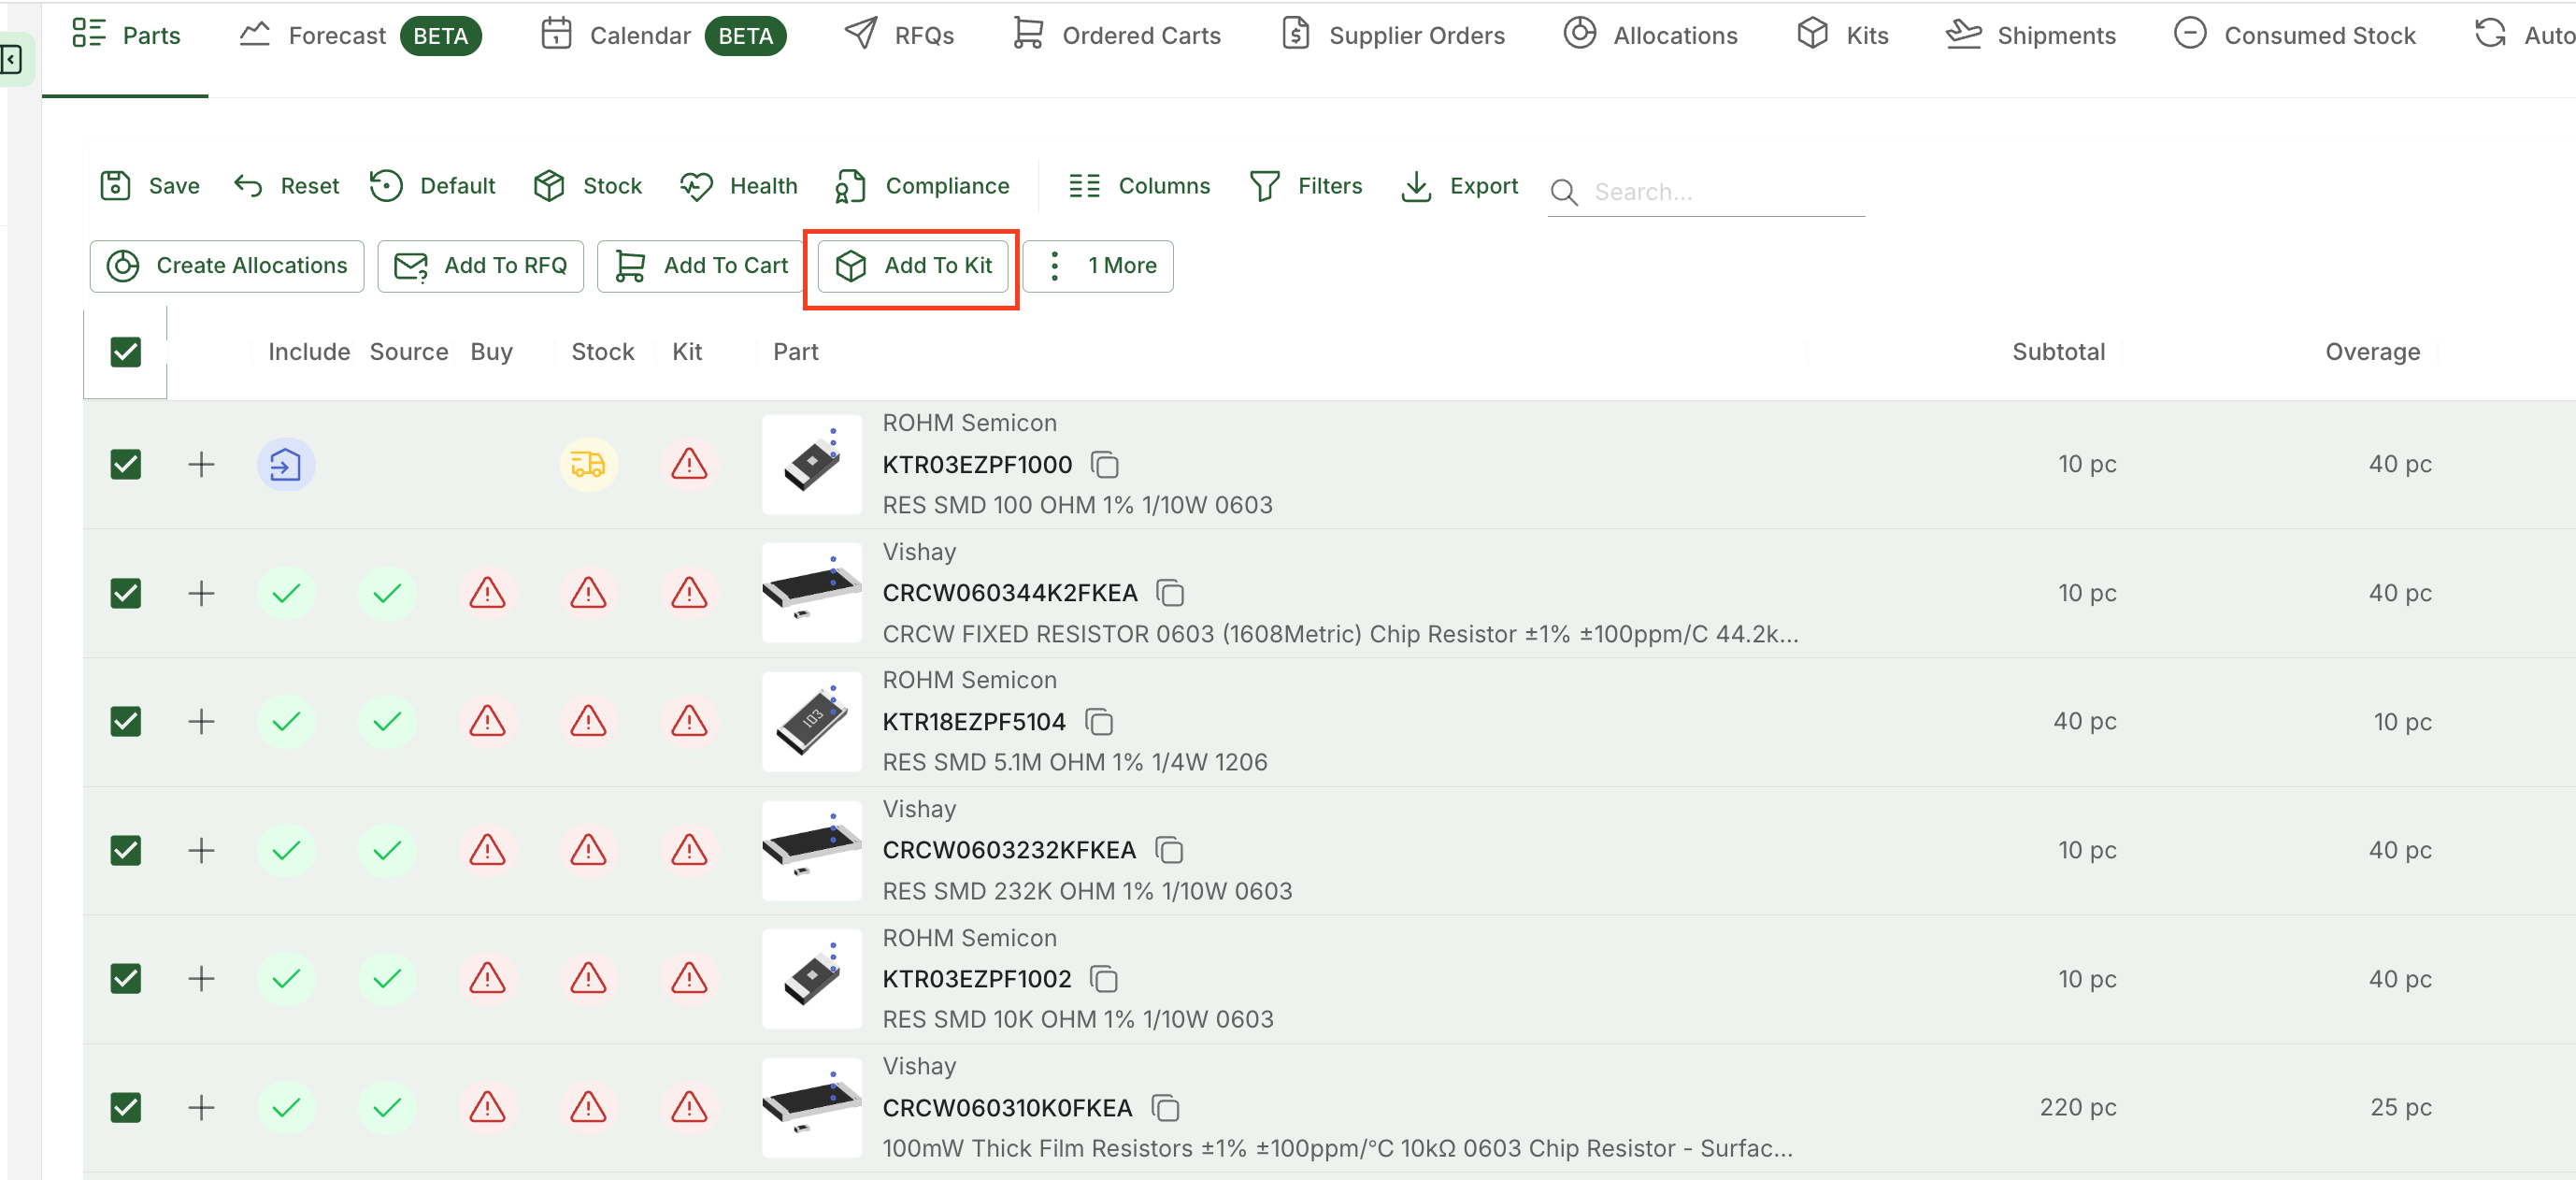
There are a couple of ways to create a kit. The first way to do this, is from a Program. To create a kit request from a Program, have your selected Program open, then select the relevant lines and click "Add to Kit."
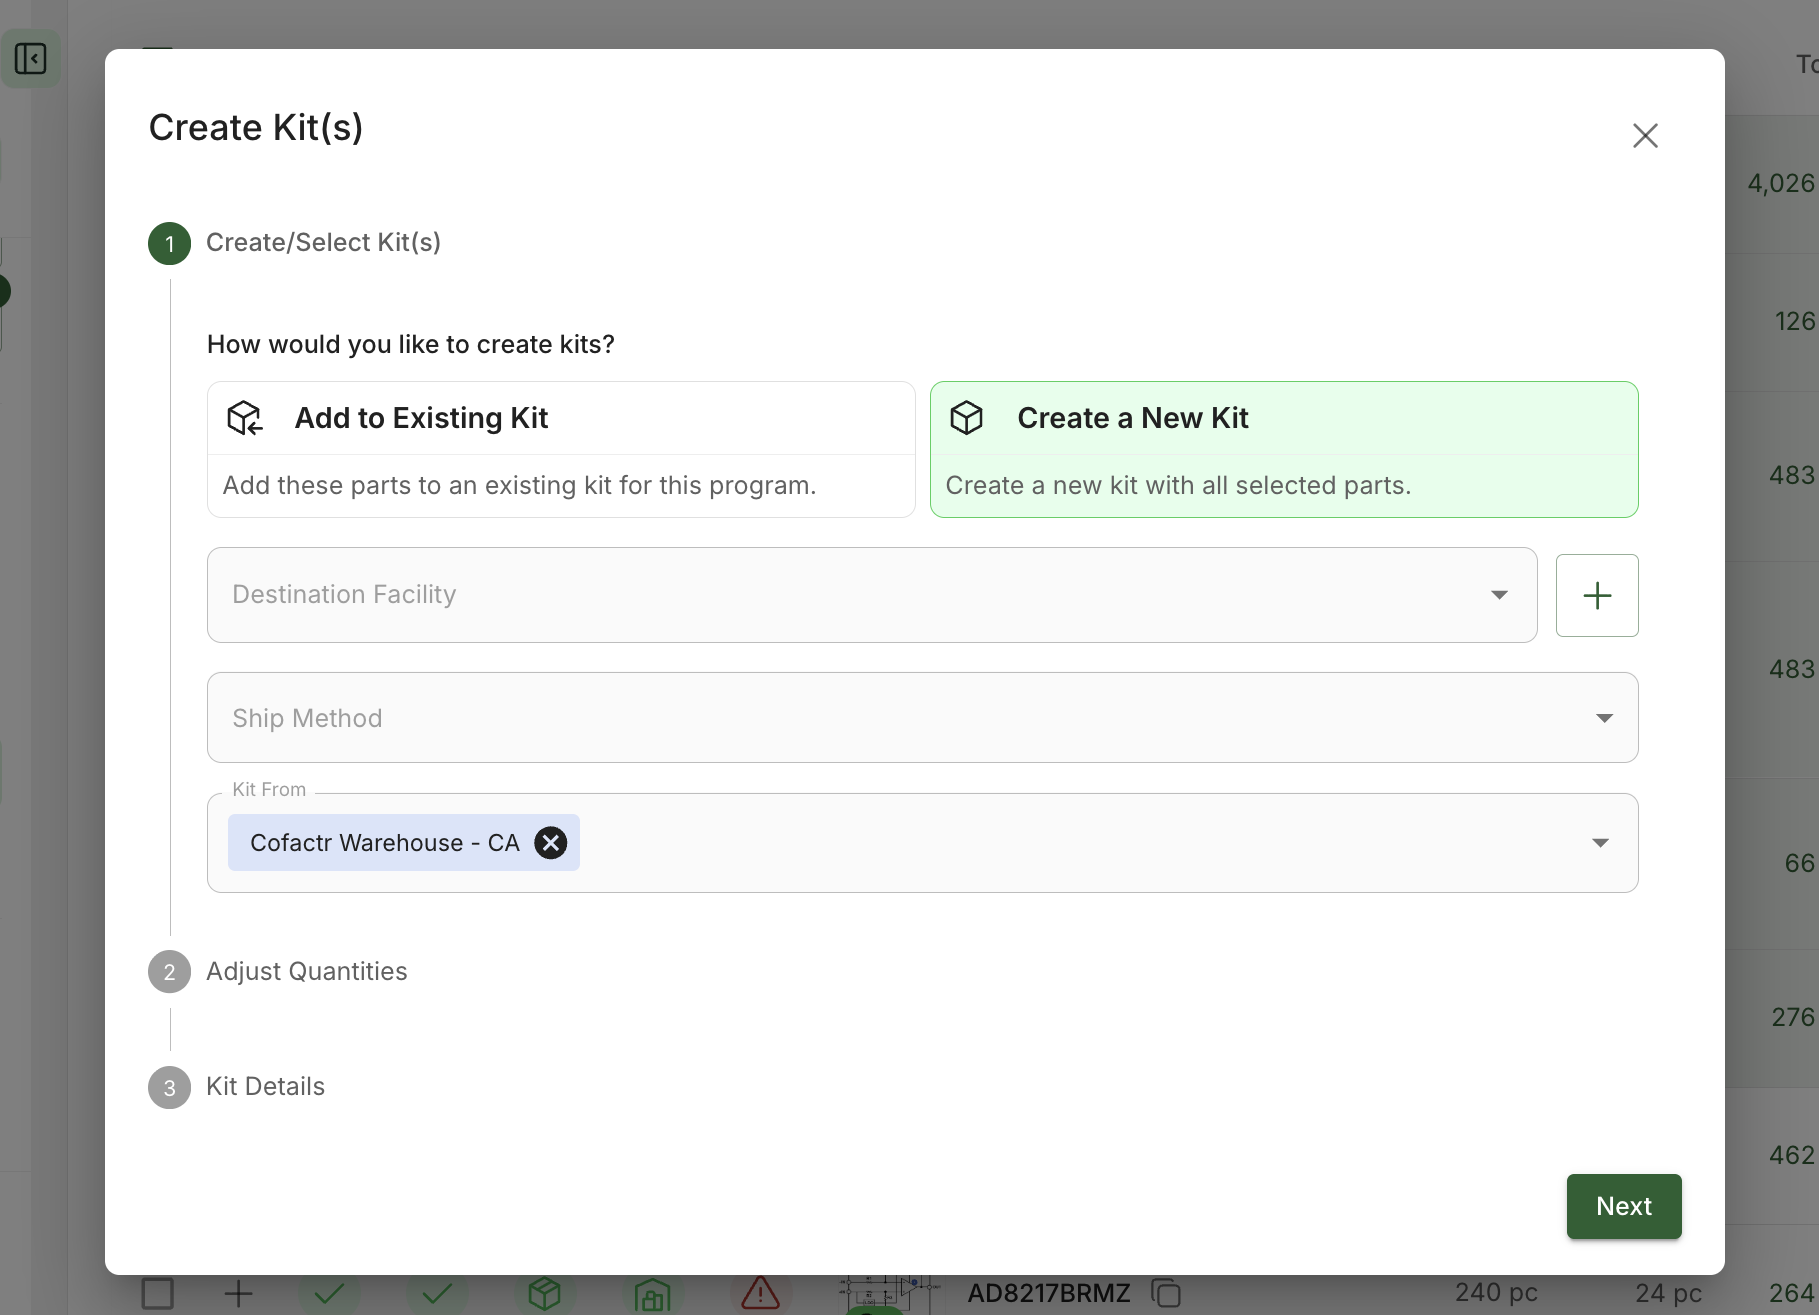
Once you have clicked Add to Kit, Create Kit (s) will pop up. From here, decide if you are going to create a new kit, or add to an existing one. Select your destination facility, your ship method, and your kit from location. Kit from location will almost always be the CA or NY Cofactr warehouses.
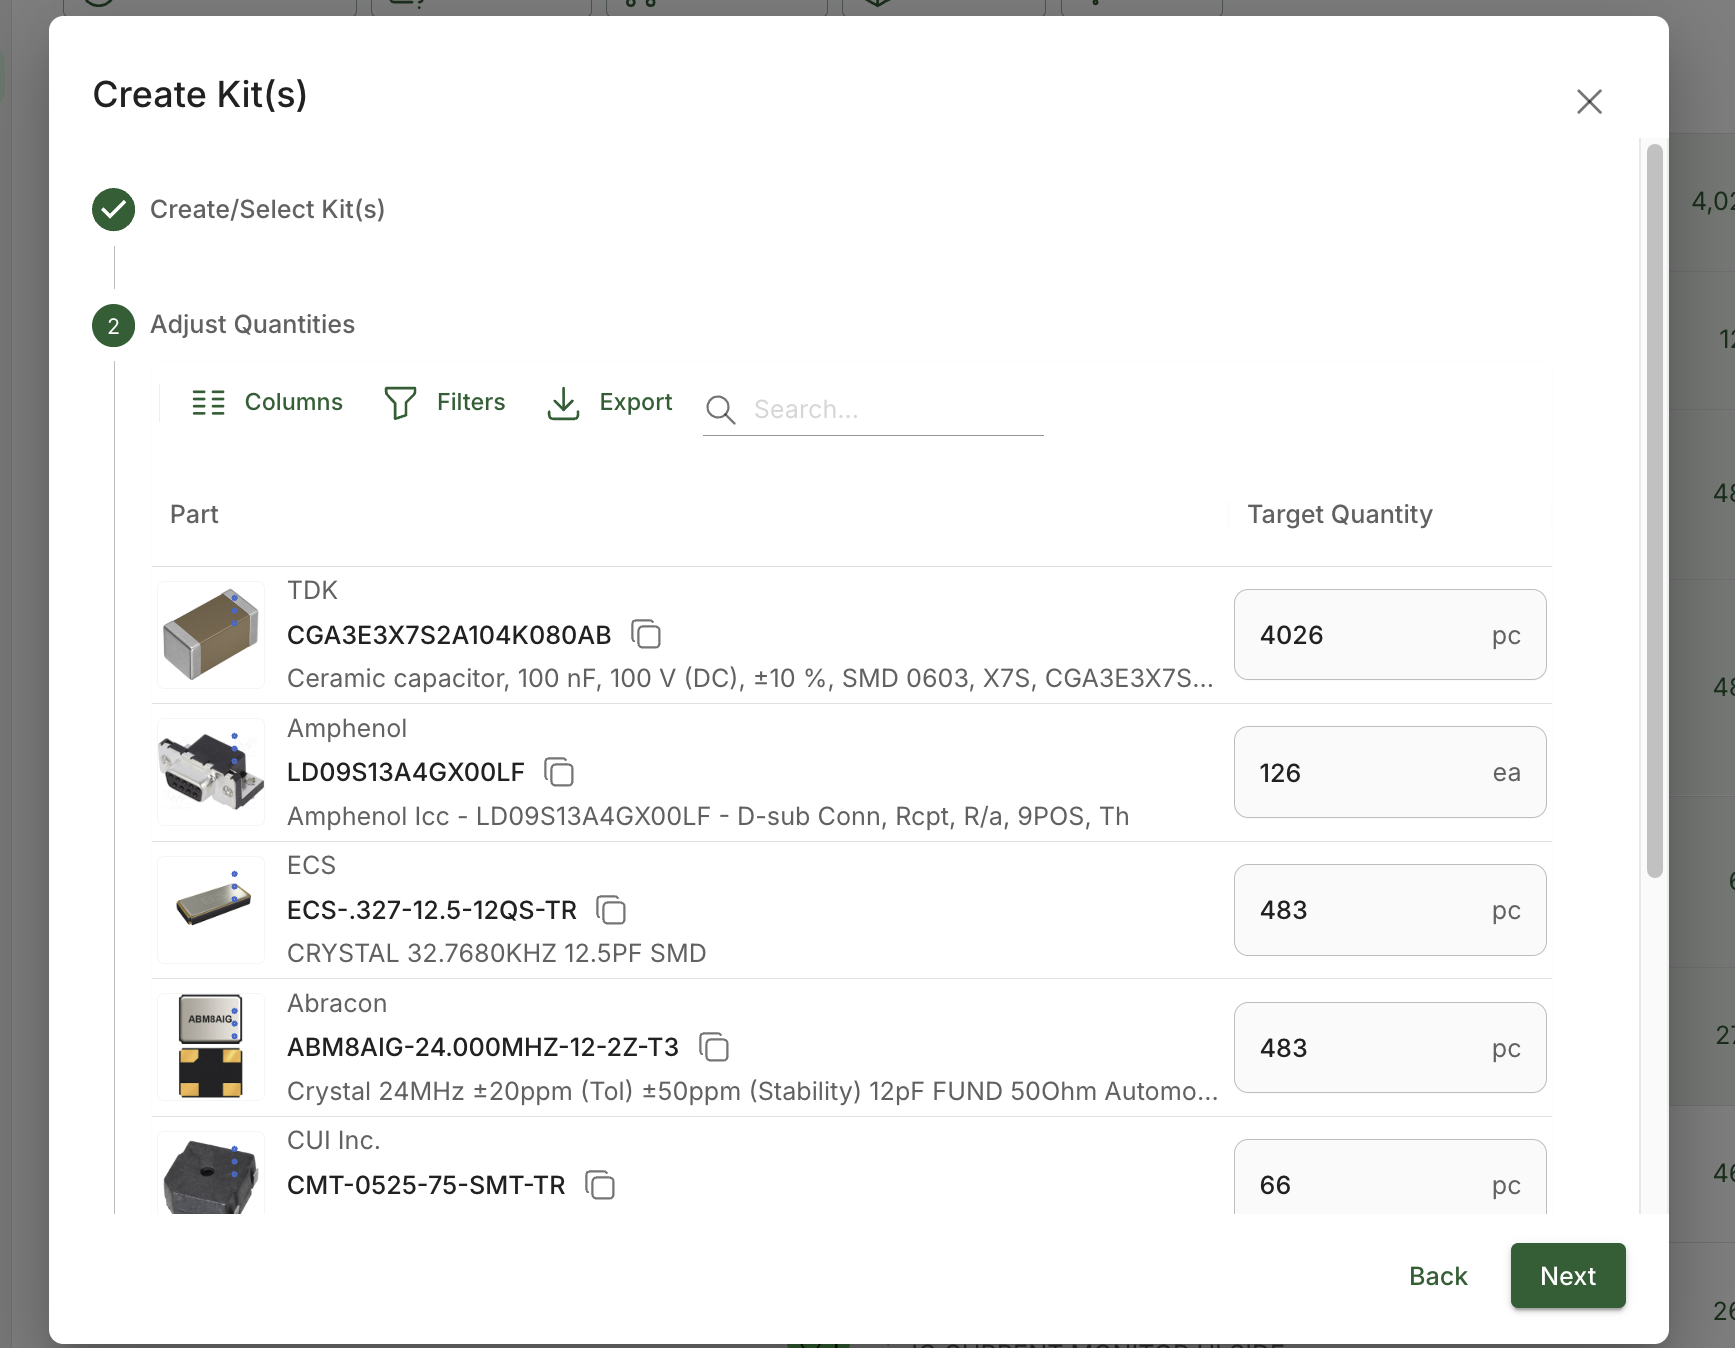
Next, we will adjust our quantities. If you are planning on kitting the total amount of each line from your program, you do not need to adjust anything at this level. Click next.
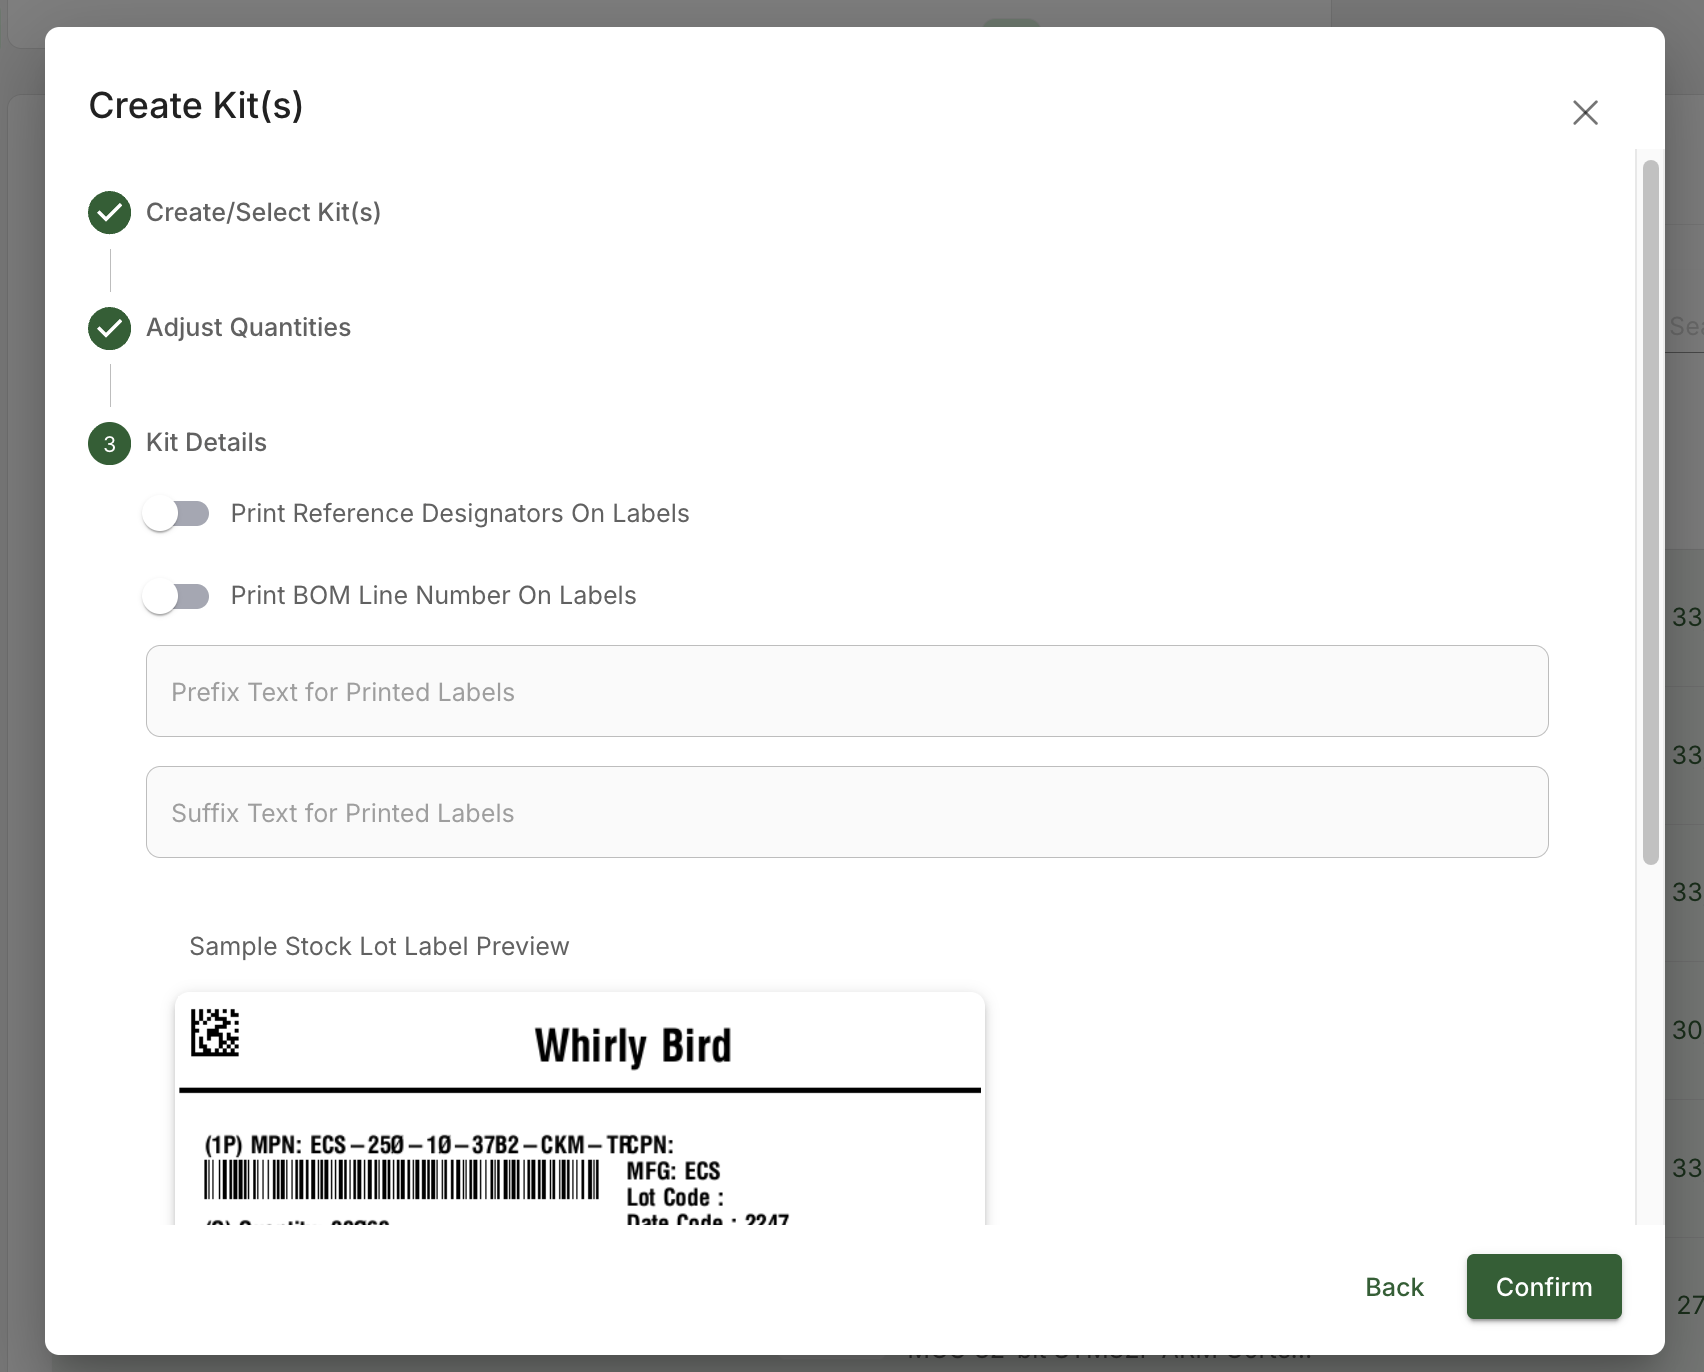
On this screen, you can choose to print reference designators and/or BOM line number on labels. Fill out the necessary information on the next screen and click Confirm.
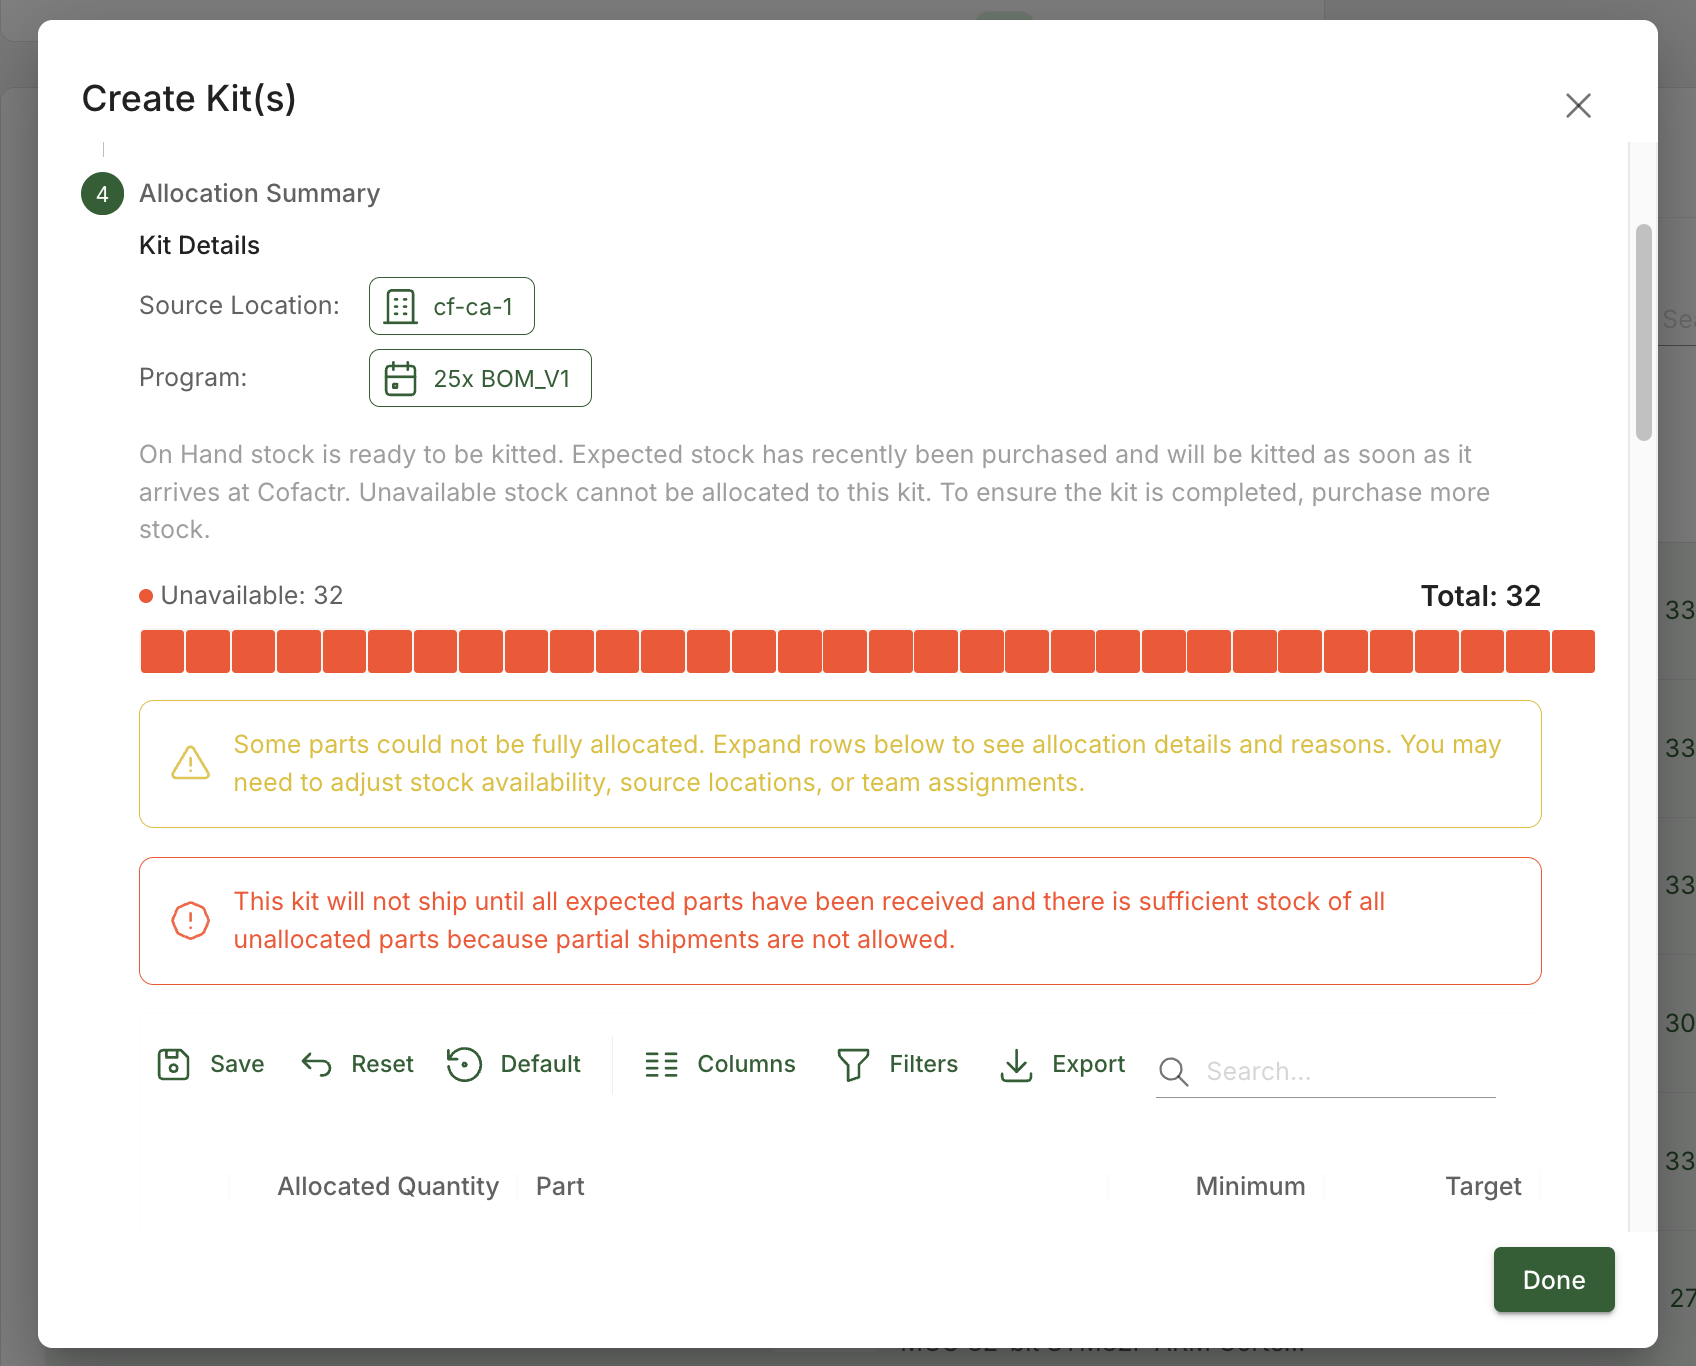
The last step is the allocation review. Here, you can review what parts have enough allocations, and what parts you still might need to take additional action on. Once you have reviewed them, click Done. Your kit has now been created!
Your draft kit is now created and ready for review. To send the kit request to our warehouse for fulfillment, approve the kit using the "approve" button in the action drawer in the top right hand corner.
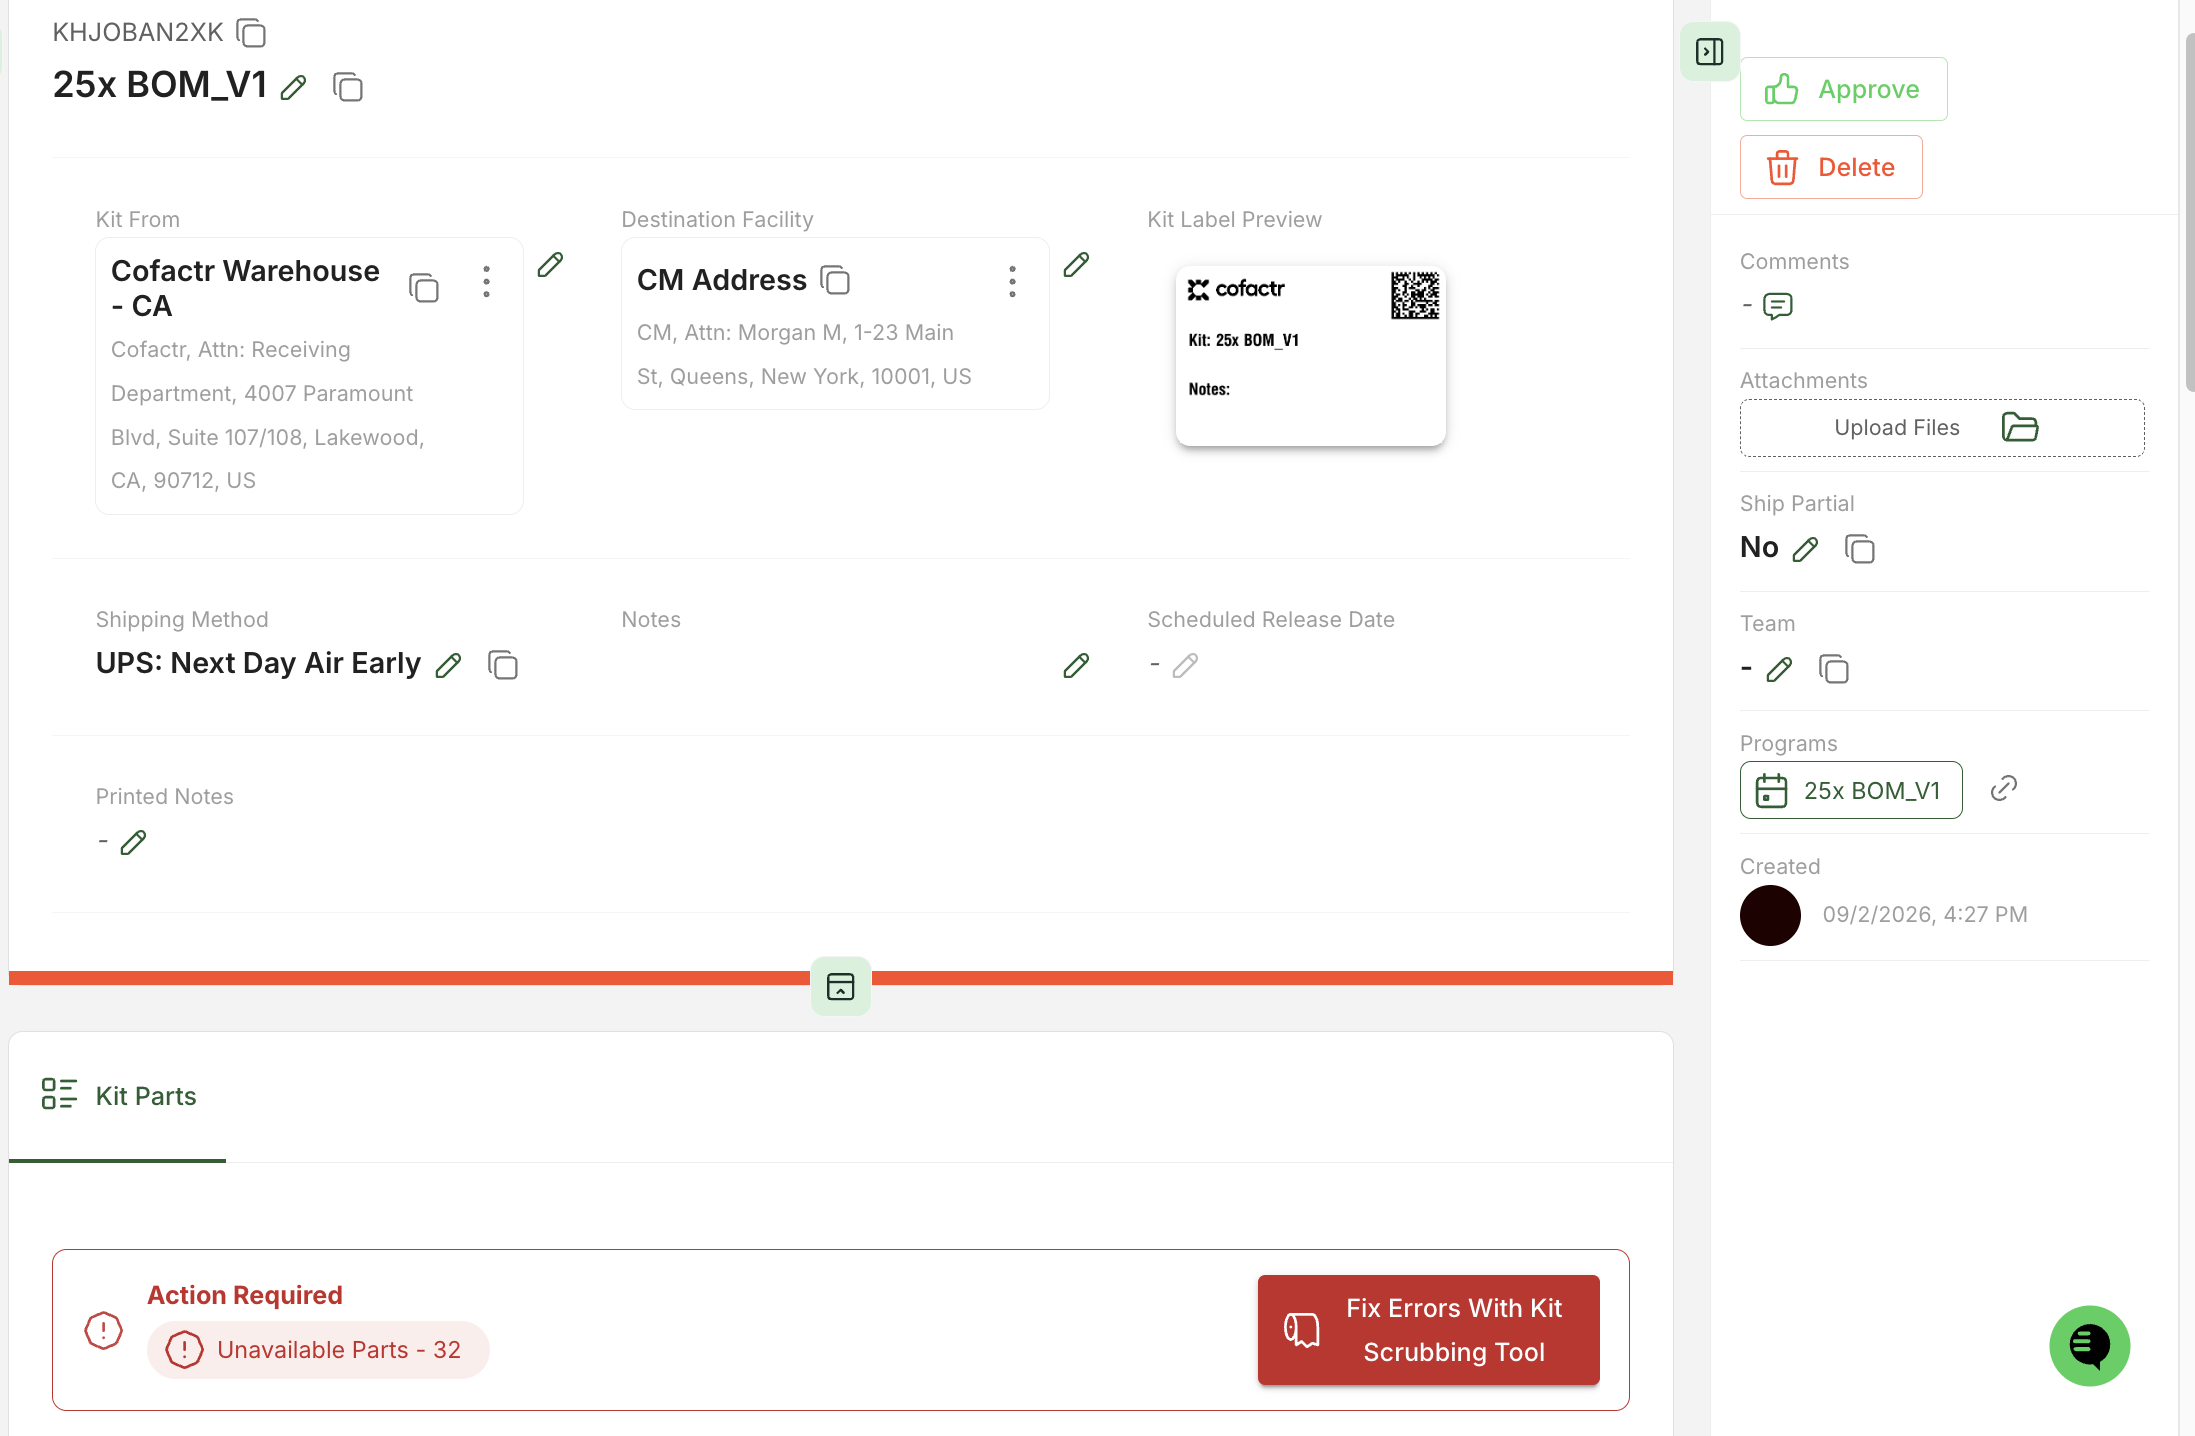
Once you hit Approve, the warehouse team is notified of your kit request and will start the kitting process. The number of days it takes for our warehouse team to complete and ship your kit depends on a number of factors such as; size of the kit (number of parts) and required handling tasks (reeling, splitting, etc).
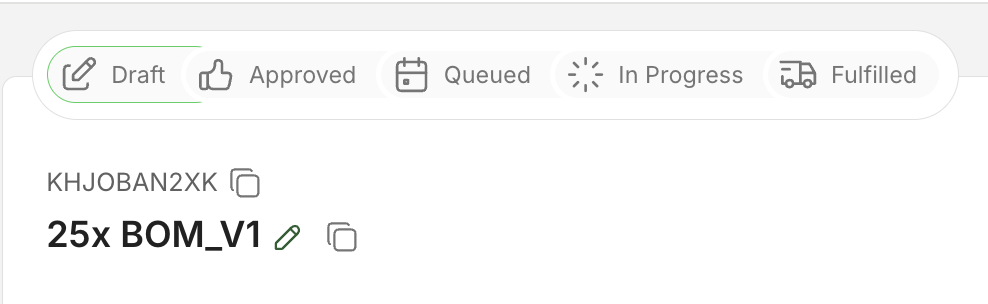
The kitting "pizza tracker" at the top of your screen tells you where your kit is at in the process of being kitted.
Note: If you have a line or multiple lines that are "unavailable," "partially unavailable," or "expected," the kit will not ship until these lines are corrected. Common causes include:
PNP restrictions: Parts may be marked as non-PNP (not suitable for pick and place machines) due to short tape lengths or packaging requirements. If your destination allows hand placement, you can edit the location settings to "Hand Place is ok," or, manually add the non-PNP stock lots to the part line.
Stock lot allocation conflicts: Different stock lots may have different handling requirements
Split stock locations: For some customers, stock is split between both the CA and NY Cofactr warehouses. If you are creating a kit that has inventory from both locations, make sure your Kit From location is both Cofactr CA and Cofactr NY.
To diagnose allocation issues, select the problematic parts and click "Recalculate Allocations" - this will show a wizard explaining why parts cannot be allocated.
You can change shipping behavior by opening the right hand drawer and setting Ship Partial = YES. This means the kit will ship with available parts while waiting for others to become available. Once unavailable parts arrive at Cofactr, they will be sent to the destination facility with the same kit number.
Creating a Manual Kit (Not From a Program)
The second way to create a kit is to create an empty kit, or manual kit, and add parts individually into the kit.
To create a kit this way, start by navigating to the left side of your org., and clicking on Kitting and Shipping, then Kits. From here, you will click "Create New Kit" at the top right of your screen.
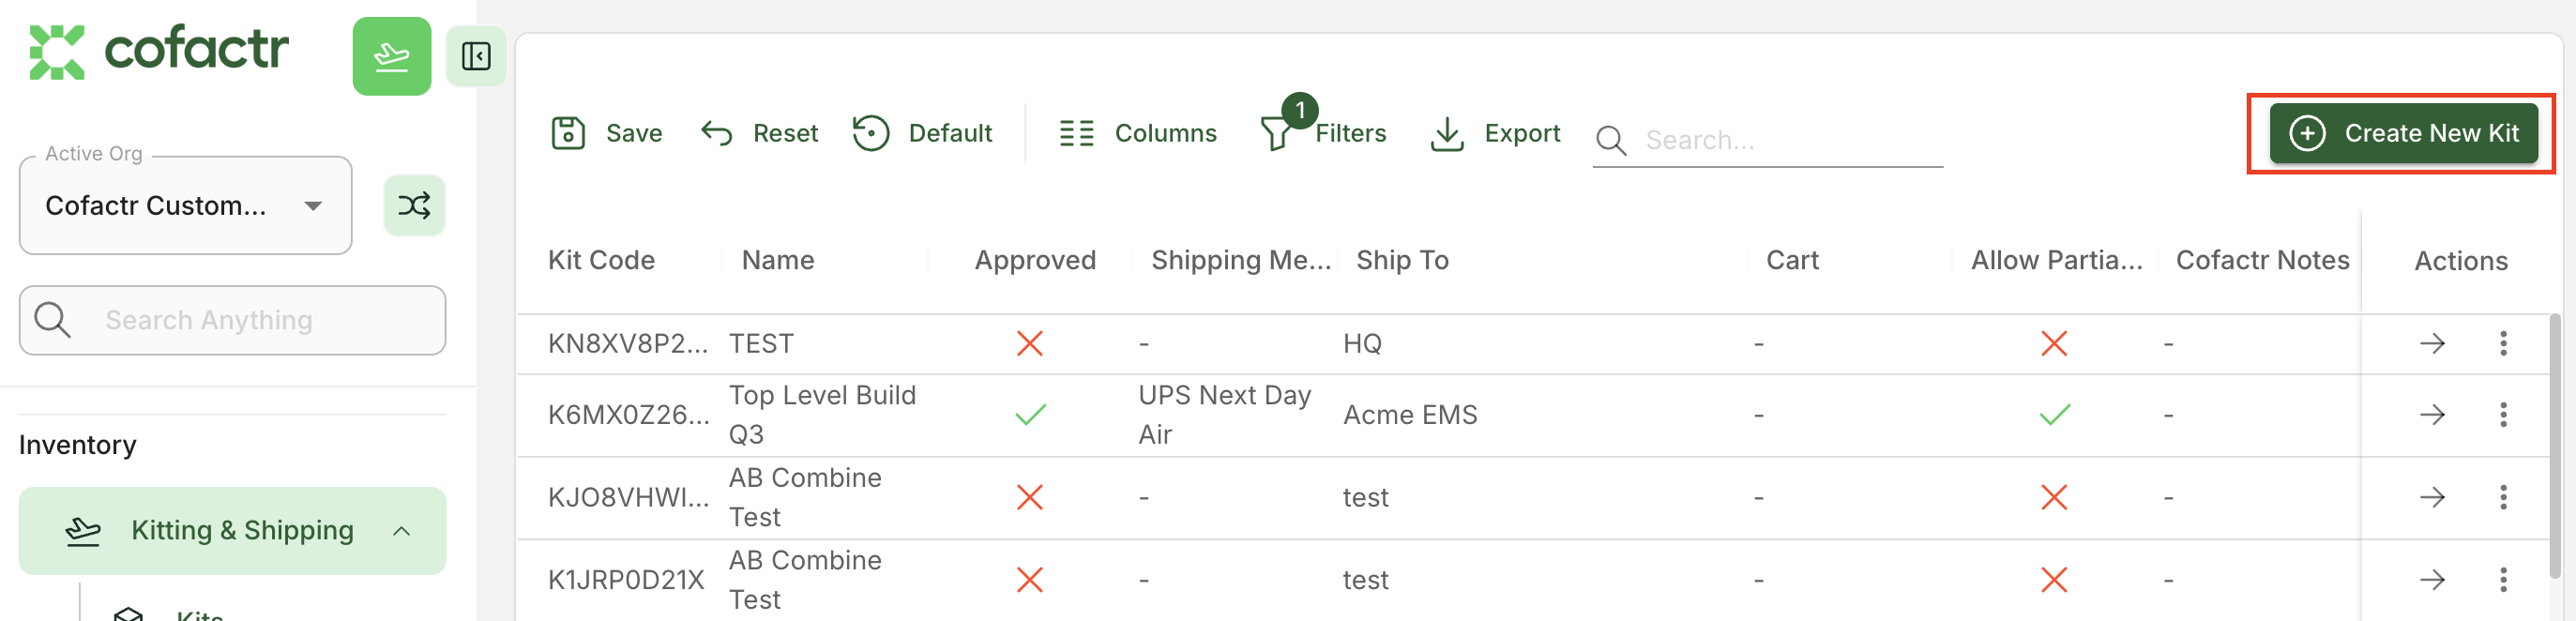
Similar to the first way we explained how to create a kit, the Create Kit pop up will appear. Fill out the necessary information and click Save.
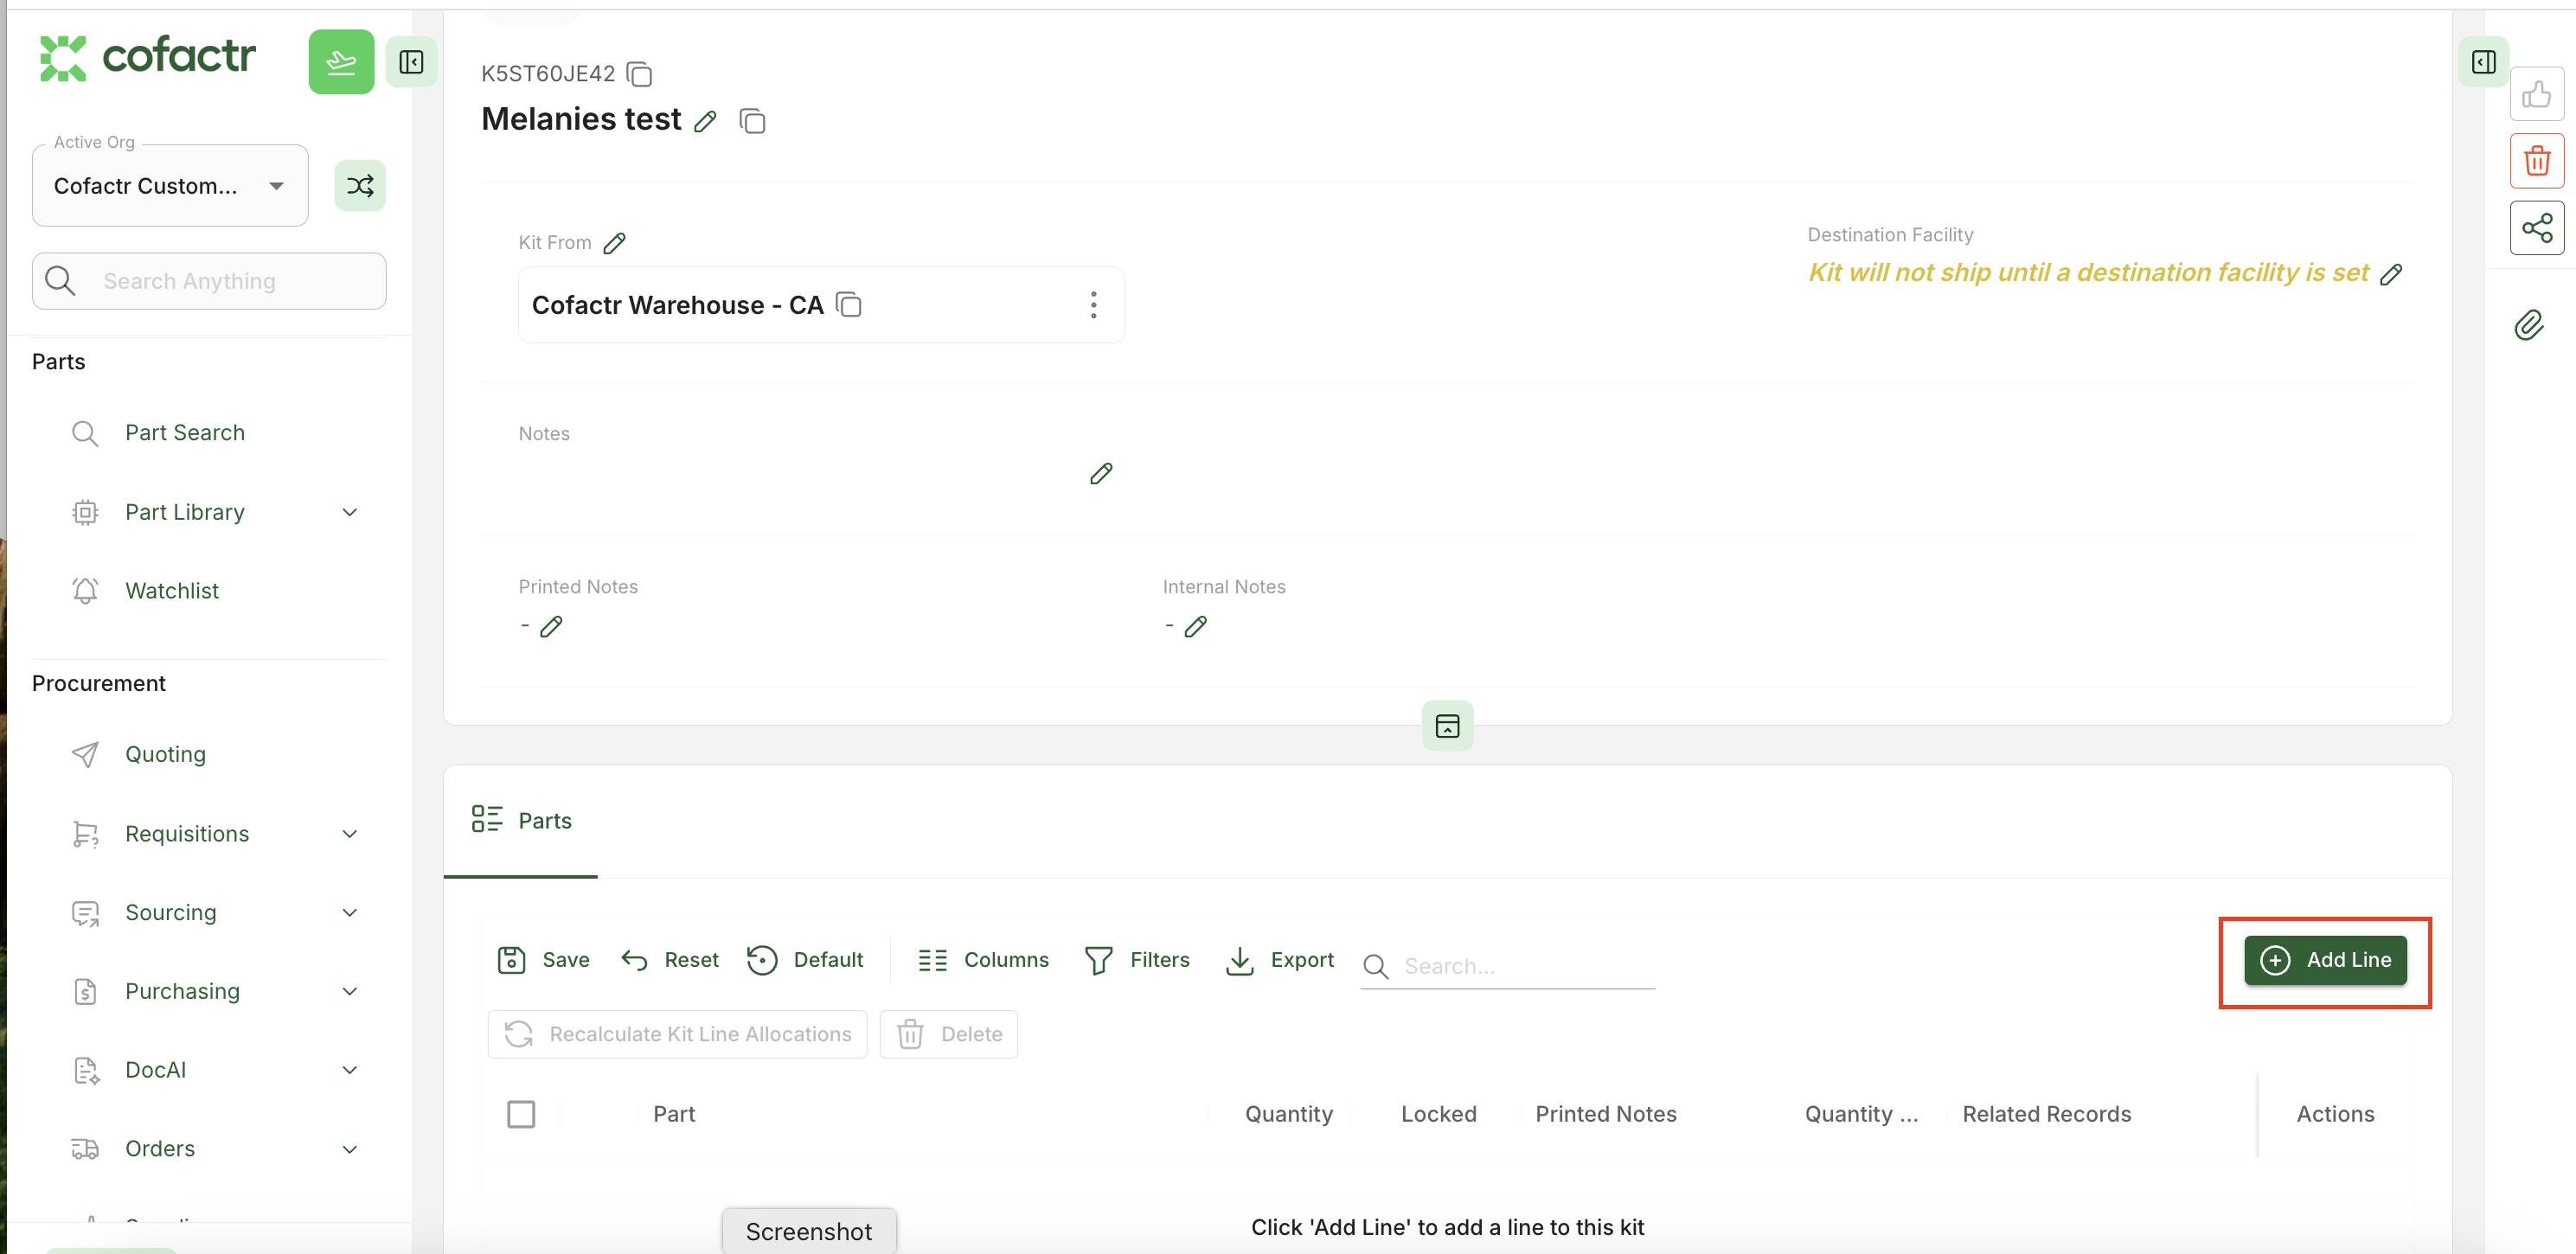
Click "Add Line" to start adding parts to your kit.
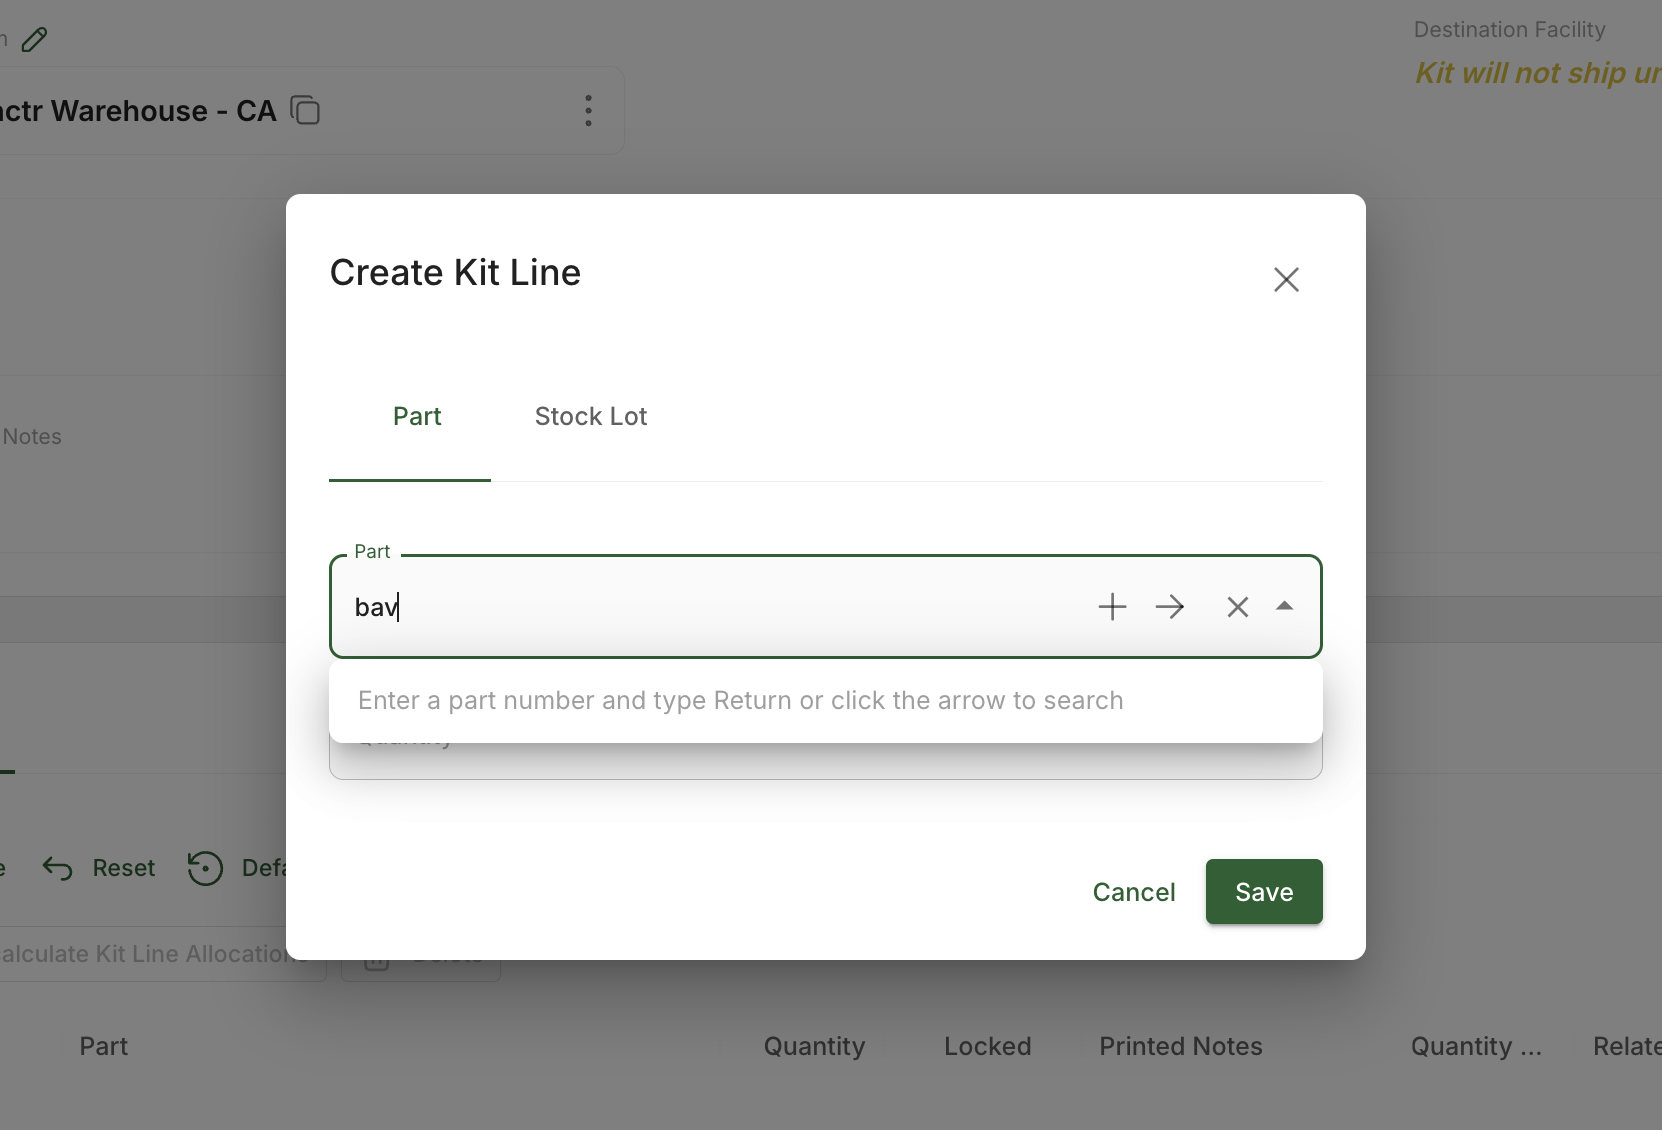
After clicking Add Line, you will be able to add Parts, Stock Lots, or Create a New Part by clicking the "+".
Once all of your desired parts have been added to your kit, simply click Approve. Just like the first example of creating a kit from a Program, once you click Approve, our warehouse team is notified of your kit request and will start the kitting process.
Unapproving a Kit
Once a kit is approved, it becomes locked and cannot be modified. If you need to make changes to an approved kit—such as adding additional parts, updating quantities, or modifying kit contents—you’ll need to unapprove it first. To unapprove a kit, contact our support team with the kit ID or number you need unapproved. Our team can quickly unapprove the kit for you, allowing you to make the necessary changes.
Once a kit has shipped, you can find the shipment information by clicking into your kit, and selecting the relevant shipping tab to see the status, shipped at (time and date), tracking number, and well as when it was delivered. If you have the relevant notifications turned on, you also can be alerted in app, by email, or both when the kit has shipped.
Thats it! You are off to the races. Please message us with the in-platform chat, or at success@cofactr.com if you run into any issues.
Tip: If you are receiving an error when creating your kit, check out How to Use the Enhanced Kit Approval Workflow
Created by Melanie Reeves